Using a Data Flow to move data **from** Neo4j in SSIS
That’s right everyone! We’re going from Neo4j this time, and this is a new release, the old version (1.0.0.0) didn’t have a ‘Neo4j as a Source’ component, 1.1.0.0 does.
In the last post we took data from a file and ingested it into Neo4j, so far so good – but one of the things we were missing was the ability to also pull from Neo4j, now the circle is complete, and in this post – I’m going to show you how to pull from one Neo4j instance into another. That’s right – Neo4j to Neo4j!
As always – the video below shows the moving version of this post – but not everyone wants that.
The Setup
OK, more complex than normal, as we need multiple instances of Neo4j running – and whilst that’s not rocket science – it is more complex than normal. I don’t want to go into it particularly – but hey! I would run one DB in Neo4j Desktop, then download one of the server editions (for this Community will be just fine!)
Ports!
You need to change the ports on your new server, as the Desktop ones will be using 7474/7687 etc – So open up the neo4j.conf file and change the following settings:
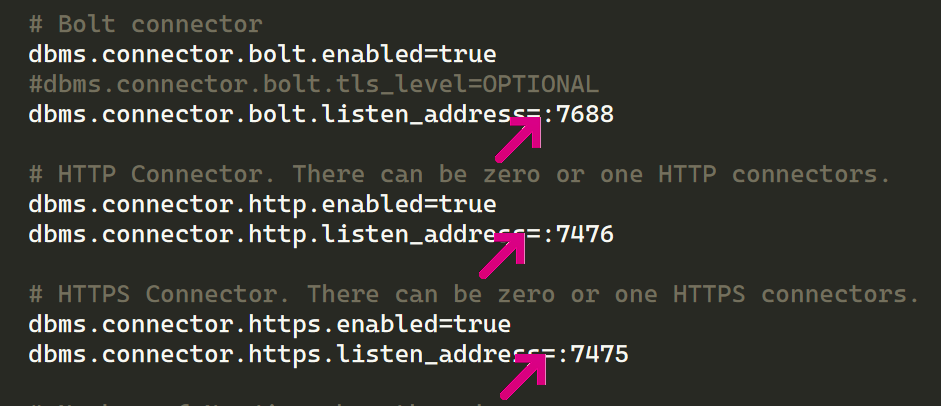
These are the ports I’m using – but go crazy and pick whatever you want – it’s your database after all. Aaaanyhews – I’m going to assume you know how to start your server version of the database. If not – there’s loads of stuff online about how to do it – and if it becomes clear that we’re in a world of pain here – I’ll write one 🙂
Clear the DBs
WARNING!!! – which I don’t think we need – but here you go – make sure you know which DB you are doing this on! Don’t delete your production DB by mistake!!! (•_•)
On both the DBs we’re going to clear them, and add the ‘Movies’ demo set to one of them so – open up your browser window to both instances (http://localhost:7474 and http://localhost:7676 in my case) and execute:
MATCH (n) DETACH DELETE n
Then in one of the databases (and I will be using my 7474 database) execute:
:play movies
And step to the second step and put the movie data into your database. You can check the data is all there by running:
MATCH (n) RETURN COUNT(n)
You should get 171 nodes. OK, now we’re all set up and ready to go!
Let’s SSIS
As another assumption – I’m going with the fact that you know how to start up Visual Studio and create a new Package.
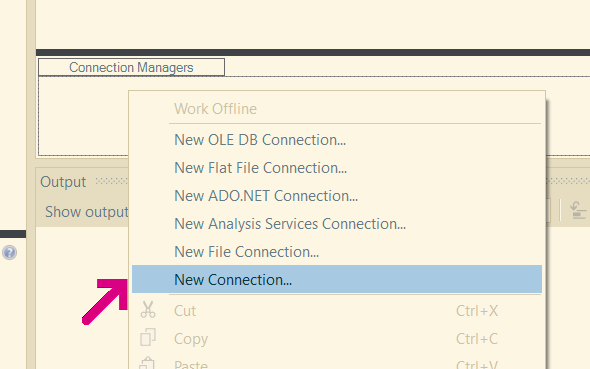
Let’s first add one connection:
And, obvs pick Neo4j:
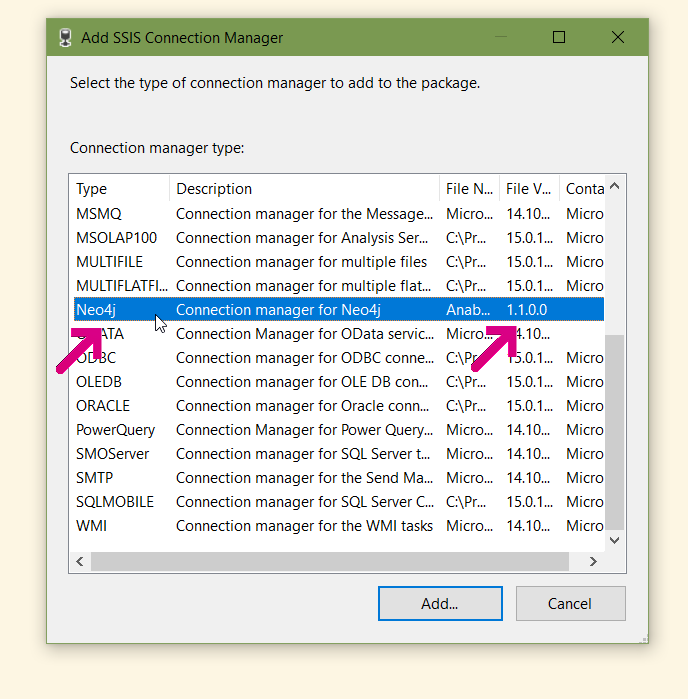
Oooh – note the ‘version’ there as well – if yours says lower than that – then bad times 🙁
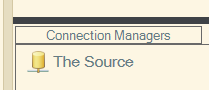
Rename it to something like ‘The Source’ or whatever you find memorable:
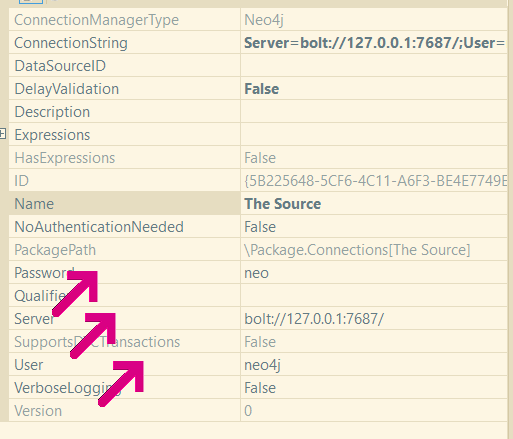
Make sure the user / pass and server are all correct:
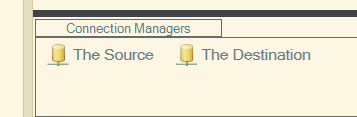
Looking good! Now – repeat – for the other server – remembering the port will be different – and choosing a different name, something like ‘The Destination’ for example, and you should end up with this state of affairs:
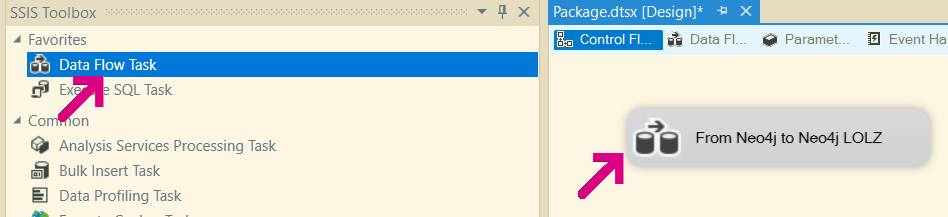
Let’s add a ‘Data Flow’ to our package now, again you can rename if you want. I did, but don’t let that force you into doing anything:
Double click on it, and we’re into Data Flow design heaven!
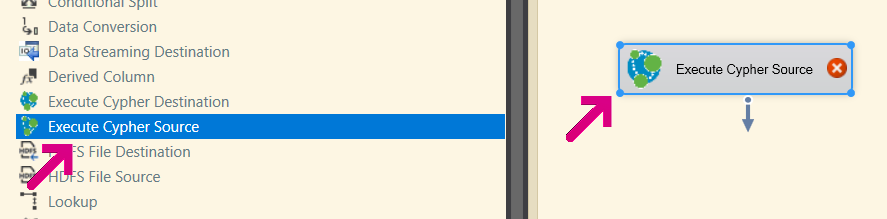
Add the Source
Drag the ‘Execute Cypher Source’ component from the toolbox onto the page:
Double click on it to enter the ‘Edit’ page:
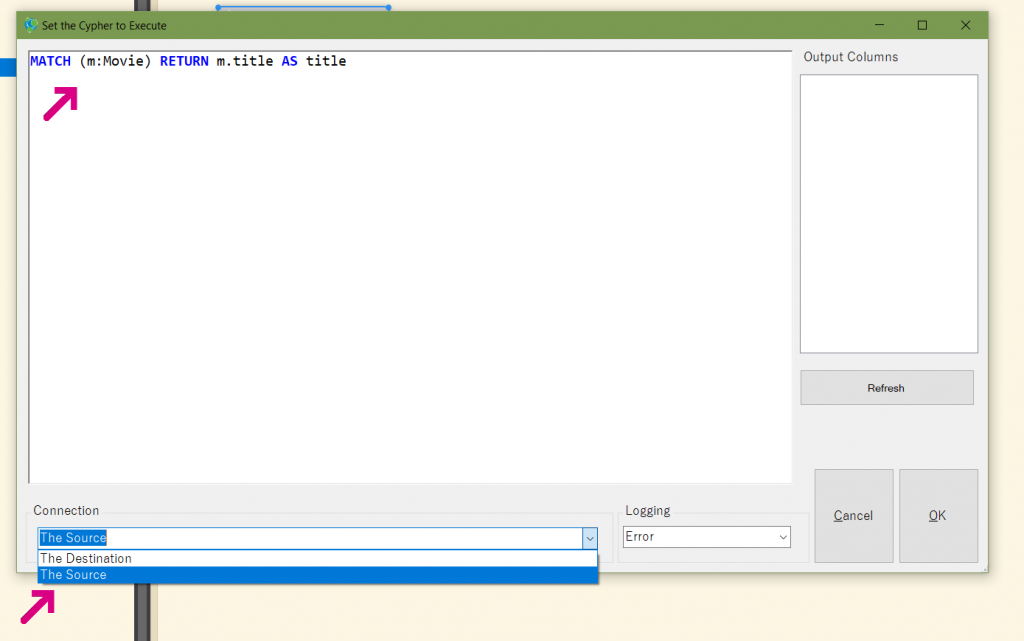
The Cypher we’re going to execute is:
MATCH (m:Movie) RETURN m.title AS title
Now – some TOP TIPS. This works best if you RETURN specific columns, SSIS doesn’t know what to do with a full node, and using the AS there makes the output columns easier to use.
Once you’ve got the Cypher – you need to select the Connection to use (see the picture) – which is why naming them nicely is SUPER useful.
Once you’ve done that, hit ‘Refresh’ to get the Output Columns populated:
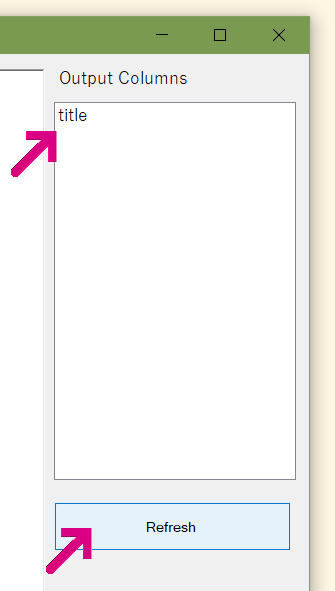
Job done. Good work!
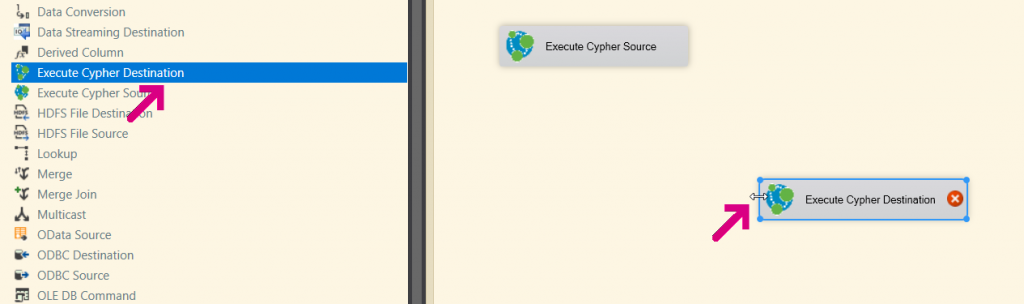
Add the Destination
No surprises for guessing this involves dragging the Destination to the page.
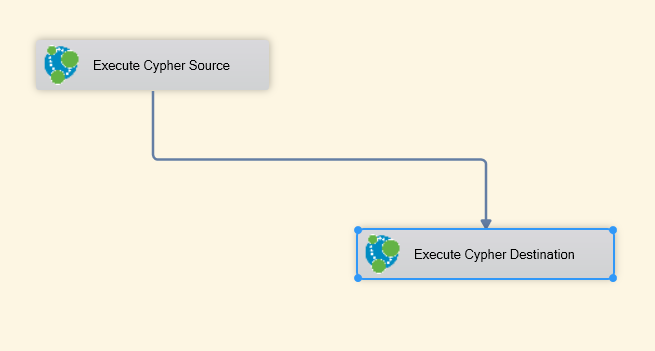
Next, join up the Source to the Destination:

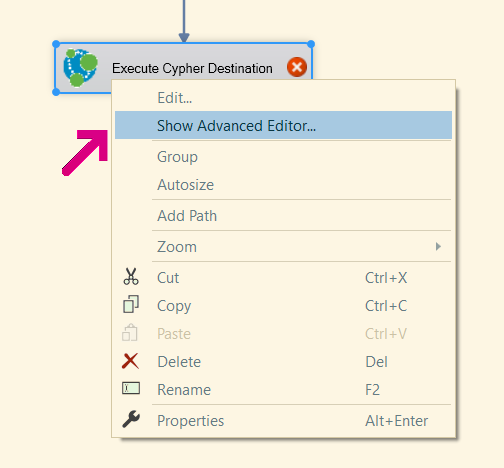
The UI for this is not as fully fledged out as the other, so unfortunately we need to head into the Advanced Editor. So Right click on it, and open the Advanced Editor:
First we want to set the connection:
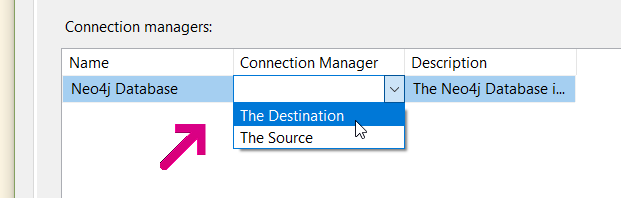
Again – naming!!
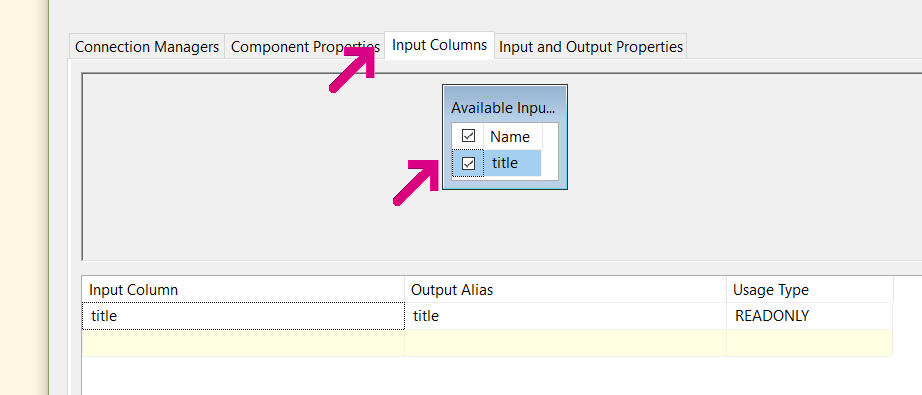
Then we’re going to go to the ‘Input’ tab and select our input from the Source:
Press OK to save all that, and then double click on the Destination item and go to the Cypher Editor:
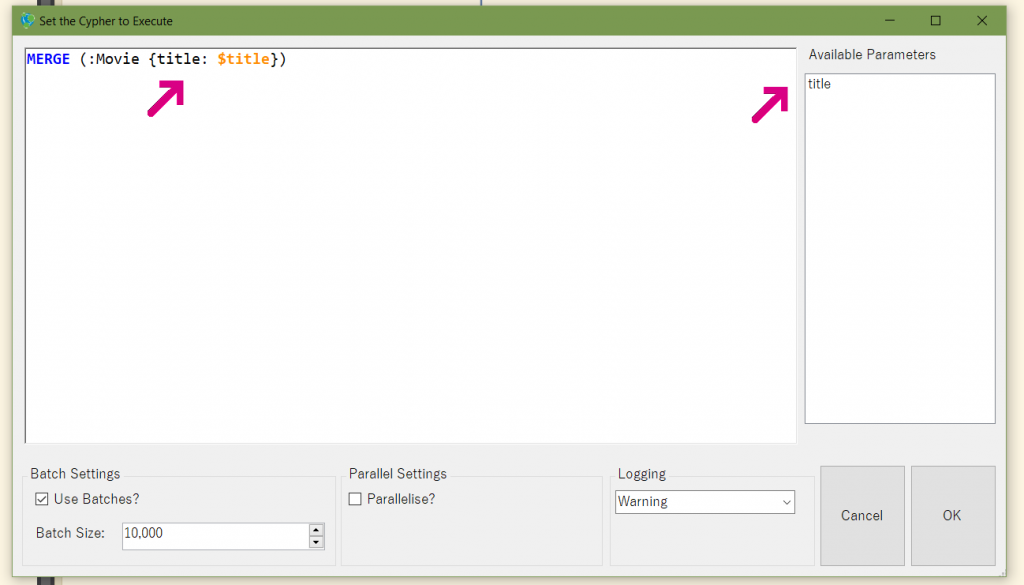
First off – you can see the ‘title’ listed in the parameters, so that’s good – Cypher wise we’re doing a MERGE- so we only get one ‘Cloud Atlas’ (because no-one needs more than one of those).
MERGE (:Movie {title: $title})
At this point, we have our two things and no red crosses or errors anywhere, so let’s run it!
Run it!
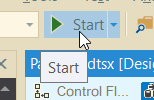
No surprises – we press ‘Start’ and get the ‘liney’ version of the page which hopefully you see as:
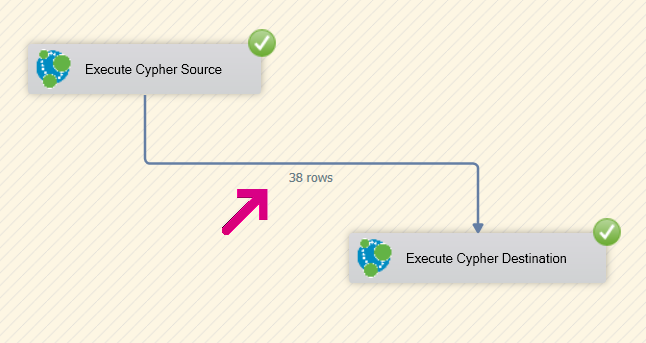
38 rows (hahaha Rows!) and if you go to your ‘Destination’ database you should see the movies there.
I want it
Of course you do – these controls are currently in an open beta, to register to get the controls, please go to: http://bit.ly/neo4jssis
[…] doing the demo post – I noticed a peculiarity – a quirk if you will with how the ‘Execute Cypher […]